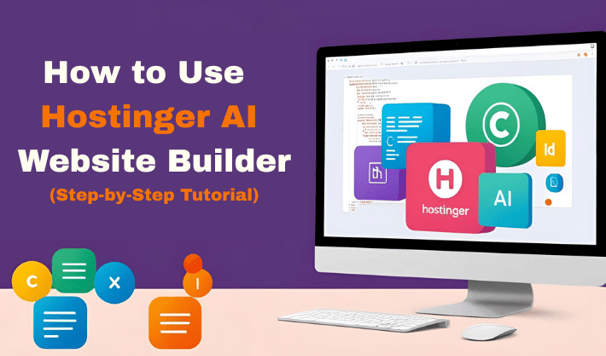
How to Use Hostinger AI Website Builder ( Step-by-Step Tutorial)
Hostinger AI website builder Step 1: Go to Hostinger’s Official Website Step 2: Choose a Hosting Plan Step 3: Select the period & Apply coupon code if any Step 4: Create or Log in to Your Hostinger Account
Creating a professional website no longer requires coding knowledge, hiring a designer, or spending weeks on development. With Hostinger’s AI Website Builder, you can launch a fully functional, beautifully designed website in just a few minutes — even if you’re a complete beginner. This AI-powered tool asks you a few simple questions about your business, style, and goals, and then generates a ready-to-use website tailored to your needs. Whether you're starting a blog, portfolio, or online store, Hostinger AI handles the hard work like layout, content structure, and mobile optimization. You get full control through a drag-and-drop editor to customize your site exactly how you want. In this step-by-step guide, we’ll walk you through how to build your Hostinger AI website from start to publish — no tech skills needed. If you’re ready to go live quickly and professionally, this guide is your perfect starting point.
Step 1: Go to Hostinger’s Official Website
Visit www.hostinger.com and navigate to the Website Builder section from the top menu.
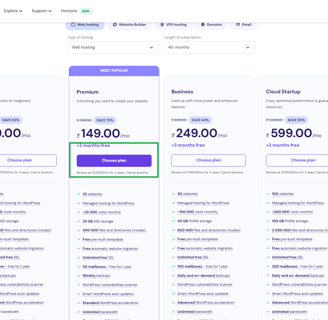
Step 2: Choose a Hosting Plan
Click "Pricing" and select a hosting plan. The Premium plan is the best for beginners. Choose your preferred plan and click "Choose Plan".

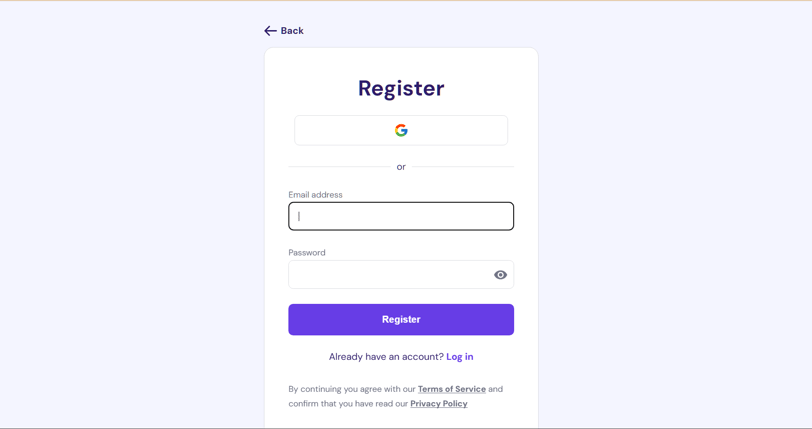
Step 4: Create or Log in to Your Hostinger Account
Sign up with your email, Google, or Facebook account. If you already have a Hostinger account, simply log in.
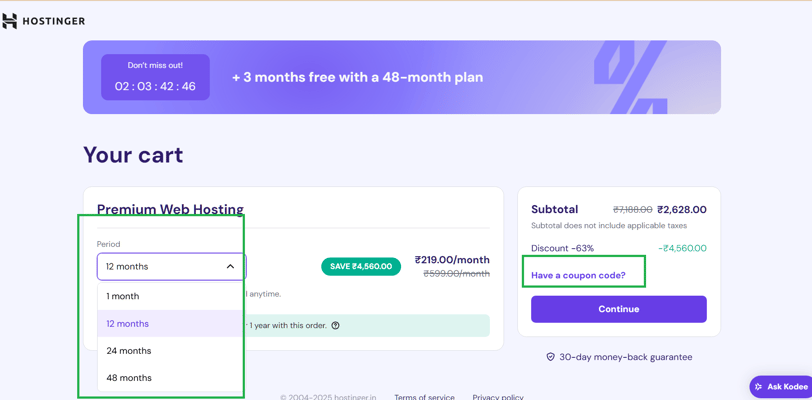
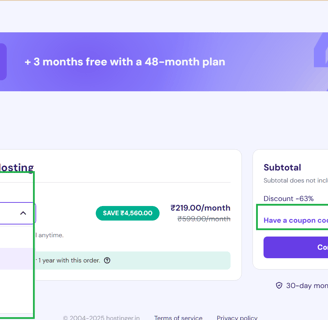
Step 3: Select the period & Apply coupon code if any
Click on the period dropdown and select the period you like. If you are serious about blogging or website design then go for 48 month or try for 12 months. You will get one domain free with this plan. Apply coupon code if you have to get discount. Click on Continue.
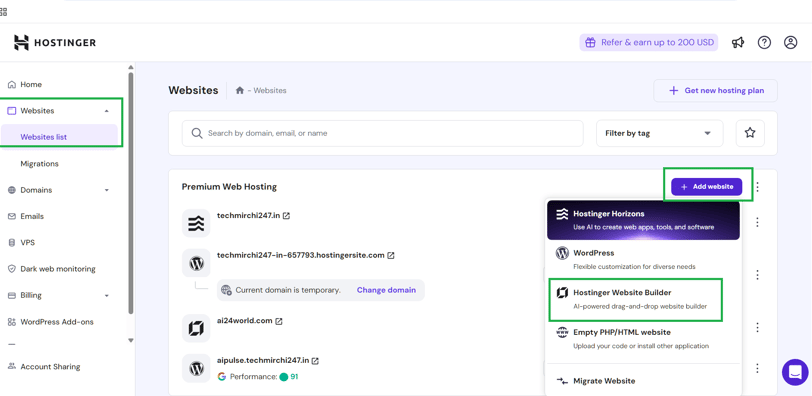
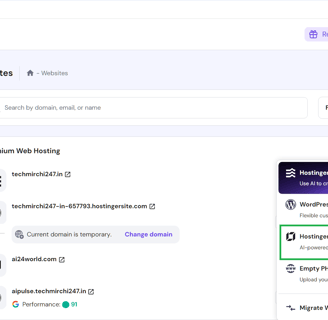
Step 5: Login and your dashboard will open
Click on Websites then click on Add Website
Choose Hostinger Website Builder
Other options will see later as here we are going for Hostinger AI website
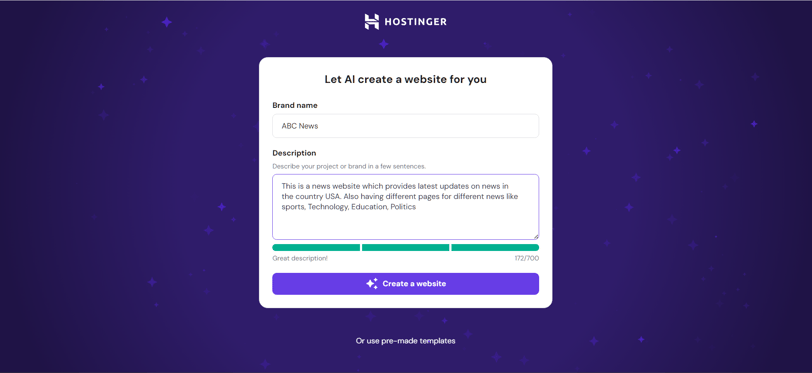
6.Enter details as shown in Let AI create website for you
Enter Your brand name like your website name, or company for which you are creating website.
Provide clear instructions as shown in the image for AI to create website.
Clearly mention type of website
Blog
Portfolio
Online Store
News Blog
etc
Then Click on Create a website.
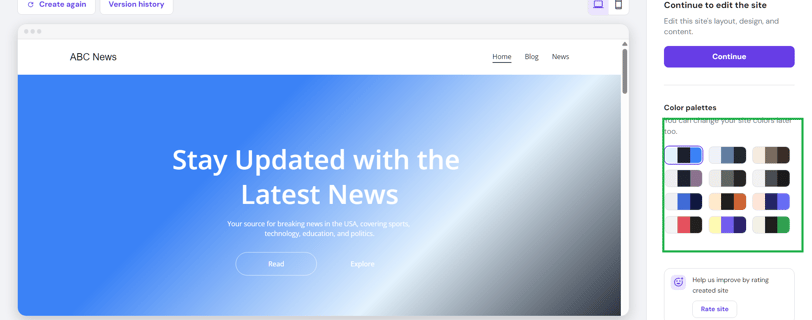
7.Your website is ready in minitues, now select the color palette
Select the color pallette as shown. Don't worry you can later change according to your wish.
You can even chage pages, text, font, section everything manually also.
If you don't like the design click on create again, but according to me it is not required as you can edit everything manually.
Next click on continue.
8.Edit the whole website
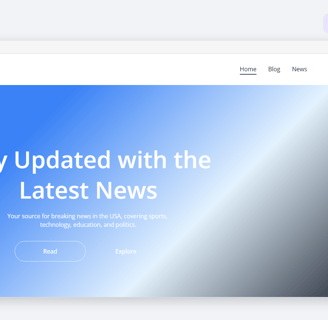
Now your beautiful website is ready within 5 min. Its time to edit each section. For that all the tools are provided on the left side. Select the section you want to edit and change according.
Comment me if you like to have a article on how to edit Hostiner AI website.
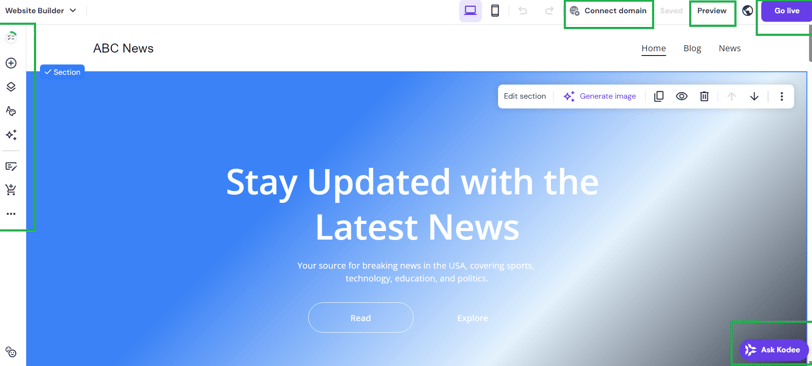
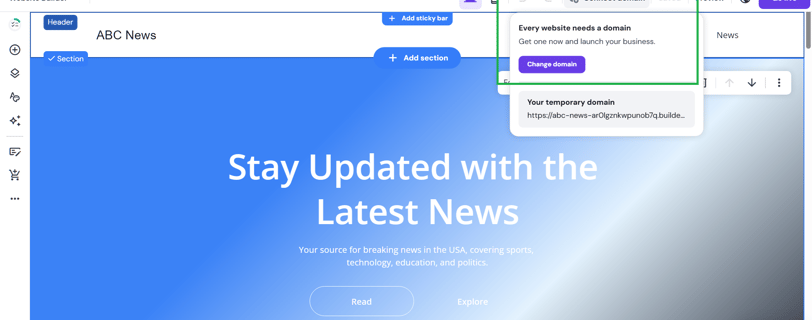
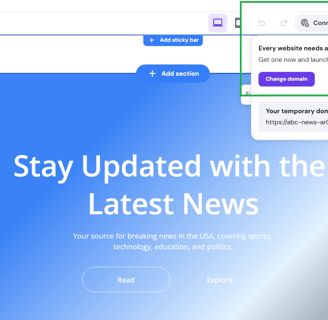
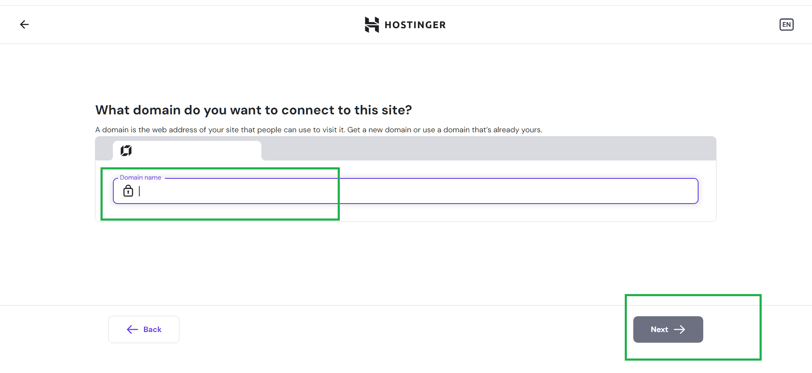
9.Connect Domain
After completing editing section click on connect Domain then change domain . Enter the domain name and check availability as the first domain is FREE with Hostinger. Then click on Next.
10.Publish your website
Once you created all the pages. Publish the website by clicking on GoLive.
Important page to be added in all the website is:
Home
Privacy Policy
Contact us
About us
NOTE : You can take Chatgpt help to get Ideas or can use even generative ai in Hostinger.